
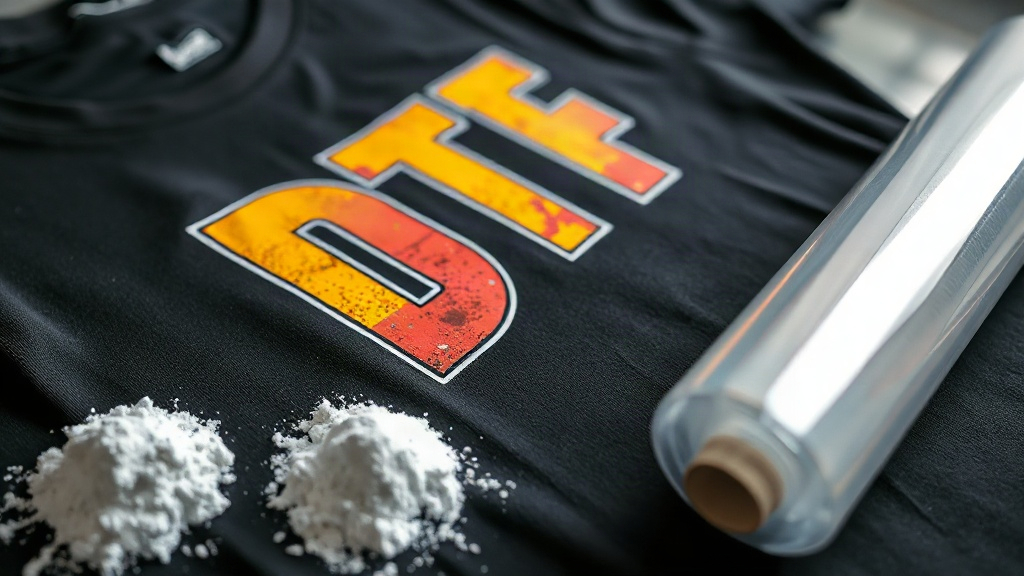
When you first encounter DTF printing, it might seem like magic: a design printed on film, dusted with powder, and pressed onto fabric in minutes. But behind that simplicity lies a craft that rewards attention to detail. Whether you're a small business owner adding custom apparel to your offerings or a hobbyist eager to experiment, understanding the nuances of DTF can mean the difference between a washout and a wearable masterpiece.
What Exactly Is DTF Printing?
DTF stands for Direct to Film. It's a digital printing method where your artwork is printed onto a special PET film using pigment-based inks. While the ink is still wet, a thermoplastic powder (often called hot melt adhesive) is applied. After shaking off the excess, the film goes through a curing process that melts the powder into a flexible, adhesive layer. The result is a transfer that can be heat-pressed onto fabrics, bonding permanently.
Unlike DTG (Direct to Garment), DTF doesn't require pre-treatment or specialized fabric. It works on cotton, polyester, blends, and even nylon. That versatility, combined with low setup costs, has made it a favorite for short-run and custom work.
The DTF Process Step by Step
Getting a perfect transfer isn't just about hitting the print button. Each stage matters. Here's how to approach it.
1. Designing and Preparing Artwork
Start with high-resolution artwork (300 DPI is standard). DTF printers use CMYK plus white ink, so your design should be in CMYK mode. If your image has transparency, the white ink will be printed underneath to make colors pop on dark fabrics. Remember: what you see on screen may look slightly different in print, so always soft-proof if possible.
2. Printing onto Film
Load your DTF film into the printer, ensuring the coated side faces the printhead. The printer lays down color first, then a white base layer. Some printers allow you to adjust white ink density; more white means brighter colors on dark shirts but can also make the transfer stiffer. Finding the right balance is key.
3. Applying Adhesive Powder
While the ink is wet, sprinkle the DTF powder evenly over the print. A dedicated powder shaker helps, but you can also use a manual approach. Gently tilt the film to distribute the powder, then shake off the excess. You want a thin, uniform coating that sticks only to the ink.
4. Curing the Powder
Curing melts the powder into a smooth, adhesive layer. You can use a heat press or a dedicated curing oven. Typical settings: 320°F (160°C) for 2-3 minutes in an oven, or 350°F (177°C) for 15-20 seconds with a heat press (no pressure). The powder should turn glossy and gel-like. Overcuring can make the transfer brittle, so keep an eye on it.
5. Pressing onto Fabric
Once cured, the transfer is ready. Set your heat press to 300-325°F (150-160°C) with medium pressure for 10-15 seconds. Peel the film either hot or cold, depending on the film type. Most DTF films today are cold peel, meaning you wait a few seconds before removing the carrier sheet. Then, for added durability, press again for 5-10 seconds with a cover sheet.
Common Pitfalls and How to Avoid Them
Even seasoned printers run into issues. Here are the most frequent ones and their fixes.
- Powder not sticking: Usually due to insufficient ink or too much powder. Ensure your printer lays down enough ink, and shake off excess powder thoroughly.
- Cracking after wash: Often caused by undercuring or overcuring. Invest in a good curing setup and follow the powder manufacturer's recommendations.
- Dull colors on dark shirts: Increase white ink density or add a second white layer. Also, ensure your fabric is clean and flat before pressing.
- Transfer peeling off: Check pressure and temperature. Too little pressure or heat can prevent proper adhesion. Also, some fabrics (like those with heavy softener finishes) may need a pre-press to remove moisture.
Choosing the Right Materials
Not all DTF supplies are created equal. The film, powder, and ink all affect the final result.
Film
Look for double-sided coated PET film. Thinner films (75-100 microns) are easier to handle and feel softer on the garment. Some films are designed for hot peel, others for cold; pick based on your workflow.
Powder
Thermoplastic polyurethane (TPU) powder is standard. Particle size matters: finer powders (80-200 microns) give a smoother feel and better detail. Avoid using too much powder; a little goes a long way.
Inks
Use DTF-specific pigment inks. They are formulated to work with the powder and to stretch without cracking. Off-brand inks may clog printheads or produce poor adhesion.
DTF vs. Other Printing Methods
How does DTF stack up against DTG, screen printing, and vinyl?
- DTG: Best for 100% cotton, but requires pre-treatment and can be inconsistent on blends. DTF works on almost any fabric and needs no pre-treatment.
- Screen printing: Cheaper for large runs, but setup costs are high and color changes are time-consuming. DTF excels at short runs and complex designs.
- Vinyl: Great for simple shapes and numbers, but multi-color designs are labor-intensive. DTF handles full-color images in one go.
Pro Tips for Flawless Results
After countless transfers, I've picked up a few tricks that make a big difference.
- Pre-press your garment: This removes moisture and wrinkles, ensuring a smooth surface for adhesion.
- Use a cover sheet: When pressing the transfer, place a Teflon sheet or parchment paper over it to prevent sticking and to distribute heat evenly.
- Test your settings: Every heat press runs differently. Use a temperature gun to verify actual platen temperature, and do a test press on scrap fabric.
- Store transfers properly: Keep unused transfers in a cool, dry place, away from direct sunlight. They can last for months if stored correctly.
- Wash inside out: Advise your customers to wash garments inside out in cold water and tumble dry low. This extends the life of the print.
Frequently Asked Questions
What fabrics can I use with DTF transfers?
DTF works on a wide range of fabrics, including cotton, polyester, cotton-poly blends, nylon, and even leather. It's not recommended for fabrics with a heavy silicone or water-repellent coating, as the adhesive may not bond properly.
How do I prevent the transfer from cracking after washing?
Cracking usually stems from undercuring or overcuring the powder, or from stretching the fabric excessively during wear. Ensure your curing temperature and time are accurate, and always do a second press after applying the transfer to fully activate the adhesive. Also, advise customers to wash inside out and avoid high heat in the dryer.
Can I use DTF on dark shirts without a white base?
No, the white base is essential for vibrant colors on dark fabrics. Without it, the colors would appear muted or transparent. Most DTF printers automatically print a white layer, but you can adjust its density in the software.
How long does a DTF transfer last?
With proper application and care, a DTF transfer can last as long as the garment itself. Expect 50+ washes if the transfer is applied correctly and the garment is cared for as recommended. Factors like fabric type, washing conditions, and wear patterns can affect longevity.
Do I need special equipment to start DTF printing?
You'll need a DTF printer (or a converted inkjet printer), DTF film, powder, a powder shaker (optional but helpful), a curing oven or heat press, and a heat press for application. Start with a basic setup and upgrade as your volume grows.