
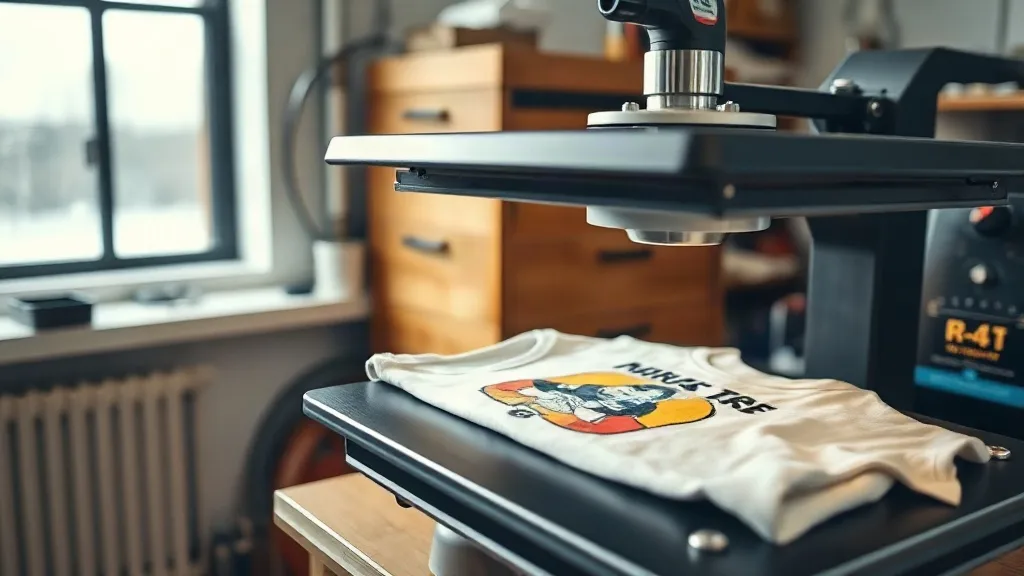
You pull a shirt off the platen, peel the carrier, and there it is again: a patch of dull, grainy white along one edge of the design. The film looked fine. The powder cured evenly. The ink profile hasn't changed since last month. So you blame the transfer supplier, order a new roll, and the same defect shows up three days later. In most shops I've visited, the real culprit is sitting right in front of the operator the whole time: the heat press. When dtf transfers fail in ways that look like film or powder problems, the press is usually the variable nobody has measured. This guide walks through the three press factors that quietly wreck dtf output and how to check each one with tools you probably already own.
Why the Press Gets Blamed Last
Film and powder are visible. You can hold them, inspect them, and photograph a defect on a sheet. The press is a black box that either gets hot or doesn't, and most operators trust it until it fails catastrophically. That trust is misplaced. A press can be 20 degrees off its setpoint, have a platen that's out of level by two millimeters, and still turn on, beep, and look ready to work. The defects it produces look exactly like material problems, which is why so many shops replace good supplies chasing a press issue.
The good news is that press problems are cheap to diagnose. A laser thermometer, a strip of thermal tape, and a few minutes of deliberate testing will tell you more about your press than any spec sheet. Once you know what to look for, you can rule the press in or out in under ten minutes and stop guessing.
Pressure: The Setting Everyone Eyeballs
Pressure is the most subjective setting on any press, and it's the one most likely to drift. Most clamshell and swing-away presses use a pressure knob or a gas spring, and neither gives you a number. Operators set it by feel, and feel changes with the operator, the shirt thickness, and how tired everyone is at 4 p.m. on a Friday.
What wrong pressure actually looks like
Too little pressure leaves the transfer sitting on top of the fabric instead of bonding into it. You'll see a print that feels slightly raised, peels at the corners after a few washes, or shows a faint halo where the adhesive didn't fully contact the weave. Too much pressure is subtler. It flattens the fabric, pushes adhesive into the shirt's fibers so aggressively that the hand feel turns stiff, and on structured garments it can leave a shiny, pressed-in rectangle around the design. On darker fabrics, overpressure is also a common cause of that faint platen-shaped sheen that customers notice immediately.
A repeatable pressure check
Here's a method that costs nothing. Take a scrap of the fabric you're about to run and press a transfer with your normal settings. Peel it cold. Then run the same transfer on a second scrap with the pressure knob backed off a quarter turn, and a third with it advanced a quarter turn. Compare the three. The one with the best combination of soft hand feel and no edge lifting is your baseline. Write the knob position down with a marker on the press frame so the next operator can find it without guessing.
For shops running multiple garment types, this baseline will not be universal. A 4.1 oz tri-blend and an 11 oz fleece need different pressure to bond correctly, and pretending one setting covers both is how inconsistency creeps in. Keep a small card taped to the press listing the knob position for your three or four most common blanks.
Platen Level and the Defects It Creates
A platen that isn't level produces defects that look exactly like a bad batch of film. One side of the design bonds perfectly while the other side lifts, or the white layer looks dense on the left and thin on the right. Operators see this and assume the roll has inconsistent coating. It usually doesn't.
Check level with a straightedge and a flashlight. Place the straightedge across the platen and shine the light from behind. Any gap you can see is a gap the press can't close, and that means uneven pressure across the design. On clamshell presses, the platen mounting bolts work loose over time, especially in shops running high volume. On swing-away presses, the arm can develop play that tilts the upper platen slightly out of parallel with the lower one.
A five-minute leveling routine
Loosen the platen bolts just enough to allow movement, then use a feeler gauge or a folded piece of paper to check the gap at all four corners between the upper and lower platens in the closed position. Adjust until the gap is consistent, then tighten. Do this monthly, and again any time you move the press. If you're searching for dtf transfers near me because you suspect your supplies are the problem, check the platen level first. It's free, and it eliminates one variable before you spend money.
Temperature Recovery: The Hidden Variable
Every press has a setpoint and a reality. The setpoint is what the display shows. The reality is what the platen surface actually reads when you press a cold shirt against it. These are rarely the same, and the gap widens as you run production.
Here's what happens on a busy day. You press a shirt, the platen loses heat to the fabric, the heating element kicks on, and the display climbs back to setpoint. But the display is reading a thermocouple mounted somewhere inside the upper platen, not the surface touching your transfer. The surface can still be 15 to 25 degrees cooler than the display suggests, especially on older presses or presses with worn heating elements. Press the next shirt too soon and you're transferring at a lower temperature than you think, which produces incomplete adhesive flow and prints that look fine on the press but fail in the wash.
Measuring recovery in your own shop
Put a strip of thermal tape on a scrap shirt and press it for your normal dwell time. Peel the tape and read the peak temperature. Then press three more shirts back to back at your normal production pace and read the tape on each one. If the peak temperature drops across the run, your press isn't recovering fast enough between cycles. The fix is simple: add a few seconds between presses, or upgrade to a press with a larger heating element and better thermal mass. Either way, knowing the number turns a vague quality problem into a scheduling decision.
Building a Press Log That Actually Gets Used
Most shops track orders, not equipment. That's backwards if you're running production. A simple press log, kept on a clipboard next to the machine, catches drift before it becomes a customer complaint. Log the date, the setpoint, the measured platen temperature, the pressure knob position, and any defects observed. Five columns, thirty seconds per entry.
After a month, patterns emerge. You'll see that defects cluster on Mondays after the press has sat cold over the weekend, or that they spike when a particular operator runs the machine. You'll notice the platen temperature measured in the morning is consistently lower than in the afternoon. None of this is visible without the log, and all of it is actionable once you have it.
When the Press Is Fine and the Problem Is Elsewhere
Not every defect is a press defect, and a good diagnostic routine includes ruling the press out. If your platen is level, your pressure is baselined, and your temperature recovery is measured, you can move on to film, powder, and ink with confidence. That's the value of checking the press first: it either solves the problem or clears the way to solve it somewhere else.
Shops that run this routine consistently tend to stop replacing supplies out of frustration and start replacing them on schedule. That shift alone changes the economics of a dtf operation, because film and powder are predictable costs while mystery defects are not. The press is the variable nobody checks, and checking it is the cheapest quality improvement available to most small shops.
Frequently Asked Questions
How often should I check platen level on my heat press?
Monthly for shops running regular production, and immediately any time the press is moved, bumped, or serviced. If you notice a defect that appears on one side of a design only, check level before anything else. It takes five minutes and rules out a whole category of problems.
Can a worn heating element cause DTF transfer failures that look like bad powder?
Yes. A heating element that's losing efficiency will still reach setpoint eventually, but it won't recover quickly between presses. The result is transfers that bond inconsistently, with white layers that look grainy or patchy in a way that mimics powder issues. Measuring platen surface temperature across a production run will tell you whether the element is the problem.
What pressure should I use for DTF transfers on different fabric weights?
There's no single number because presses vary, but the principle is consistent: use enough pressure to bond the adhesive into the weave without flattening the fabric. Lightweight blends need less than heavy fleece. Establish a baseline on your most common blank, then adjust a quarter turn at a time for other weights and record the settings.
Why do my DTF transfers fail in the wash even though they look perfect after pressing?
Wash failures usually trace back to incomplete adhesive flow during pressing, which is a temperature or pressure issue rather than a film issue. If the transfer looks good but lifts after a few washes, check platen temperature with thermal tape and verify that your pressure is consistent across the design. Both are press variables, and both are measurable.
Is it worth upgrading my press before upgrading my DTF supplies?
In most cases, yes. A press with stable temperature recovery and a level platen will get consistent results from mid-range supplies, while a struggling press will produce inconsistent results from premium supplies. Fix the equipment variable first, then optimize the materials.