
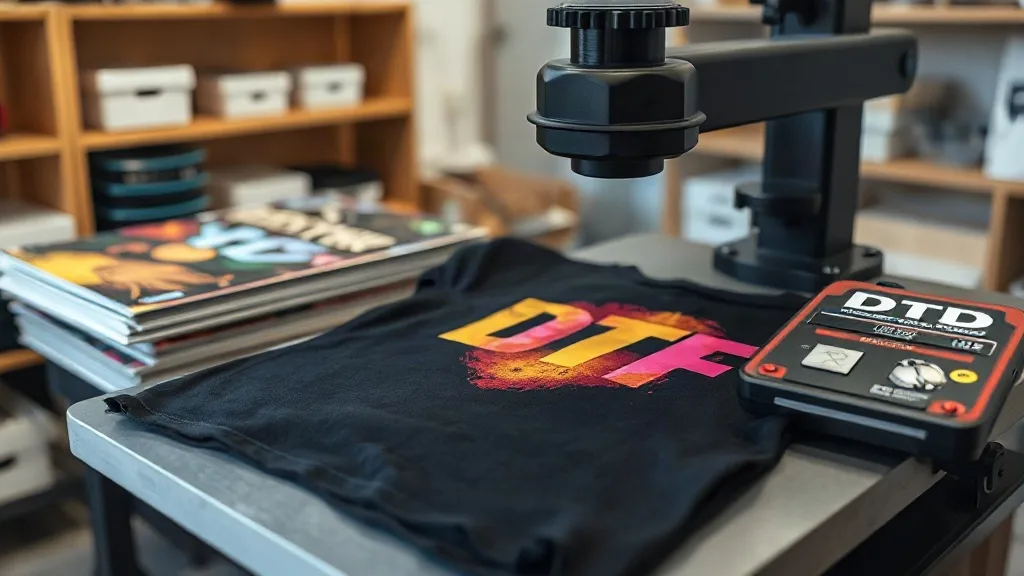
When you first encounter dtf printing, it might seem like just another heat transfer method. But spend a week in a production shop, and you will see why it has become a go-to for custom apparel. Unlike vinyl or screen printing, dtf transfers handle intricate designs, gradients, and fine text without the setup costs. They adhere to cotton, polyester, blends, and even nylon. The result is a soft, stretchable print that survives dozens of washes. In this guide, I will share what I have learned from thousands of transfers, including how to choose the right film, set your heat press, and avoid common pitfalls.
What Exactly Are DTF Transfers?
DTF stands for direct-to-film. The process starts with a digital printer that lays down a layer of white ink, followed by CMYK colors, onto a special PET film. While the ink is still wet, a hot-melt adhesive powder is applied and cured. The result is a transfer that can be stored and later applied with a heat press. The magic happens when heat and pressure activate the adhesive, bonding the ink to the fabric. Unlike DTG, which prints directly onto the garment, DTF transfers let you prepare designs in advance and apply them on demand. This flexibility is a game-changer for small businesses and hobbyists alike.
The Role of the Adhesive Powder
The powder is what makes the transfer stick. It must be applied evenly and cured properly. If you under-cure, the print will peel; over-cure, and the adhesive becomes brittle. I recommend using a powder shaker for consistency and curing at 160°C for 2-3 minutes. You will know it is ready when the powder turns from white to a clear, glossy layer. This step is often overlooked, but it is critical for durability.
Why Choose DTF Over Other Printing Methods?
If you have ever tried to print a photorealistic image with vinyl, you know the pain of weeding tiny details. DTF eliminates that. Here is how it stacks up:
- No weeding or masking: The printer does the work. You just cut and press.
- Works on almost any fabric: Cotton, polyester, blends, leather, and even treated nylon.
- Vibrant colors: The white ink base makes colors pop on dark garments.
- Soft hand feel: Modern films and powders produce a print that stretches with the fabric.
- Cost-effective for small runs: No screens or plates needed.
Of course, there are trade-offs. DTF prints are not as stretchy as screen printing on athletic wear, and the film can be visible on very lightweight fabrics. But for most custom apparel, it is a winning choice.
Step-by-Step Guide to Applying DTF Transfers
Getting a perfect transfer every time requires attention to detail. Follow these steps for best results.
1. Prepare Your Workspace
You need a heat press, not an iron. Irons apply uneven pressure and heat, leading to patchy adhesion. Set your press to 150-160°C (300-320°F) and medium pressure. Pre-press the garment for 5 seconds to remove moisture and wrinkles. This step also helps the transfer bond evenly.
2. Position the Transfer
Place the transfer with the printed side facing up. If your film has a matte side and a glossy side, the matte side is the print. Double-check alignment before pressing. For multicolor designs, you can use registration marks or a template.
3. Press and Peel
Press for 10-15 seconds. You can peel hot or cold, depending on the film manufacturer. Most modern films are cold peel, meaning you wait until the transfer cools completely before removing the film. This prevents the ink from stretching. If you peel hot, do it quickly and smoothly.
4. Post-Press for Durability
After peeling, cover the print with a Teflon sheet or parchment paper and press again for 5-10 seconds. This ensures the adhesive fully penetrates the fabric fibers. It also gives the print a matte finish.
Common Mistakes and How to Avoid Them
Even experienced printers run into issues. Here are the most frequent problems and their fixes.
- Peeling after wash: Usually caused by insufficient pressure or under-cured powder. Increase pressure and check your powder curing.
- Dull colors: Too much heat can scorch the ink. Lower the temperature and check your press with a heat gun.
- Film sticking to the press: Use a Teflon sheet or silicone paper. Never press directly onto the film without a cover sheet.
- Cracking: Stretching the transfer while peeling hot. Let it cool completely.
I learned these lessons the hard way. Now I keep a log of settings for each fabric type.
Choosing the Right DTF Supplies
Not all films and powders are created equal. The quality of your supplies directly affects the final product. Look for films with a consistent coating and powders with a low melting point. Some printers prefer to mix their own powder blends, but for beginners, a reputable brand is safer. Also, consider the ink. Pigment inks designed for DTF have better color gamut and adhesion than generic inks. If you are just starting, buy a starter kit that includes film, powder, and ink. It saves time and reduces trial and error.
DTF Transfers on Different Fabrics
One of the biggest advantages of DTF is its versatility. Here is how it performs on common materials.
- 100% Cotton: Excellent adhesion and vibrant colors. The print may feel slightly stiff on heavy cotton but softens after a wash.
- Polyester: Works well, but lower heat is needed to avoid dye migration. Use a low-temperature powder.
- Blends: Generally good, but test first. Some blends with high elastane can cause stretching issues.
- Nylon: Requires a special adhesive powder. Not all DTF transfers work on nylon, so check compatibility.
- Leather: Possible, but use low heat and a press pad to avoid damaging the surface.
Always do a test press on a scrap piece before committing to a full order.
Frequently Asked Questions
How long do DTF transfers last?
With proper application and care, DTF transfers can last 50+ washes. The key is correct powder curing and post-pressing. Avoid fabric softener and wash inside out in cold water.
Can I stretch DTF prints?
Yes, but within limits. DTF prints have some stretch, but they are not as elastic as screen printing on spandex. For high-stretch garments, consider a specialized transfer or reduce the print size.
Do I need a special printer for DTF?
You can convert an Epson printer with DTF ink and a bulk system, but dedicated DTF printers offer better reliability. If you are serious, invest in a printer with a white ink circulation system.
What is the best temperature for pressing DTF transfers?
Most DTF transfers press at 150-160°C (300-320°F) for 10-15 seconds. Always follow the film manufacturer's recommendations, as some films require different settings.
Can I use a home iron for DTF transfers?
I strongly advise against it. Irons do not provide even pressure or consistent heat, leading to poor adhesion. A heat press is essential for professional results.
Mastering dtf transfers opens up a world of possibilities for custom apparel. With the right supplies and techniques, you can produce durable, vibrant prints that impress your customers. Start with small tests, keep a log, and soon you will be creating flawless transfers every time.