
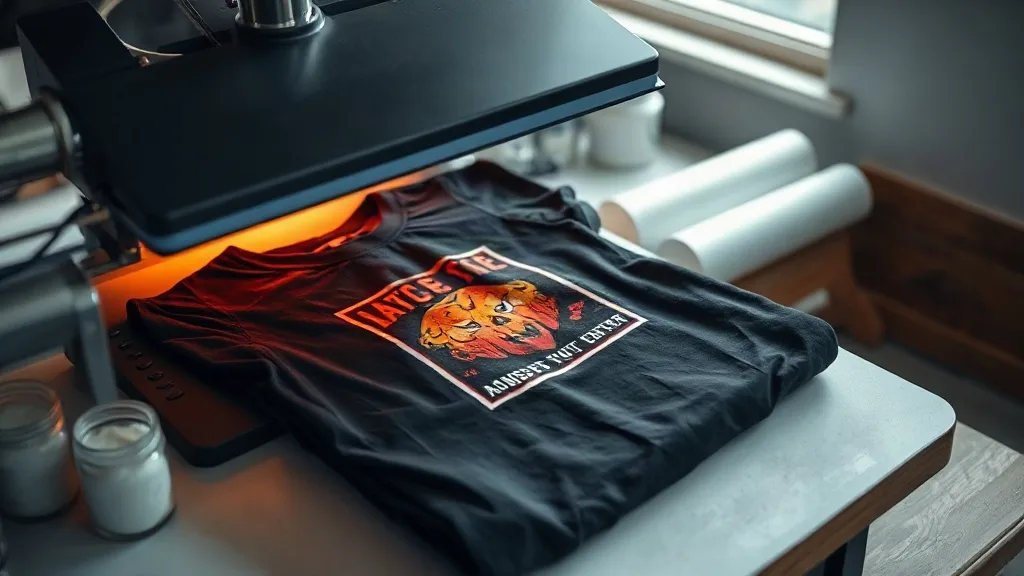
Most people who try dtf transfers for the first time run into the same set of problems within a week: colors look dull after the first wash, the film cracks along a fold, or the powder sticks where it shouldn't. None of these are mysteries. They come from a handful of variables that are easy to control once you understand what the film is actually doing under the heat press. This guide walks through the process from the printer's perspective, then from the press operator's, and points out the spots where results usually break down.
What Actually Happens Inside a DTF Transfer
Direct-to-film printing is a three-layer sandwich. A printer lays down water-based pigment inks in reverse onto a coated PET film. While the ink is still wet, a thermoplastic polyurethane powder is scattered over it. The powder sinks into the wet ink and, once cured, becomes the adhesive layer that will eventually bond to fabric. The film itself is just a carrier; it never touches the garment.
That structure explains most of the behavior you'll observe. The ink layer controls color and opacity. The powder layer controls stretch, softness, and wash durability. The film controls nothing except how cleanly the transfer releases. When a print feels plasticky or stiff, the powder is usually the culprit, either too much of it or the wrong melt grade. When a print looks faded before it's even washed, the ink load was too light for the fabric underneath.
Why the Powder Grade Matters More Than You'd Think
Powder comes in different melt points and particle sizes. Fine powder gives a softer hand and crisper edges but demands more careful application, because a thin coat leaves gaps that turn into pinholes after washing. Coarser powder is forgiving to apply but adds bulk. For cotton and cotton blends, a mid-grade powder in the 80 to 170 micron range covers most needs. For performance fabrics with stretch, a lower melt point helps the adhesive flow into the weave without requiring punishing press temperatures that could scorch the garment.
If you're buying ready-made dtf transfers, you're trusting someone else's powder choice. Ask what fabric the transfer is rated for before committing to a large order. A transfer tuned for 100% cotton will often feel stiff on polyester and may not bond well to nylon at all.
The Press Settings That Decide Whether a Print Survives
Temperature, pressure, and time are the three dials, and they interact. Raising temperature lets you shorten dwell time, but it also increases the risk of scorching synthetics and of the powder over-curing before it reaches the fabric. Most failures trace back to one of these settings being off while the operator compensates by pushing another one harder.
Temperature
For cotton, 300 to 320°F (150 to 160°C) is a reasonable working range. Polyester wants the lower end, often 280 to 300°F, because the fiber itself begins to soften and glaze above that. If you're pressing a blend, start at the lower end and test. An infrared thermometer pointed at the platen gives you a truer reading than the press's dial, which drifts over time.
Pressure
Medium pressure is almost always right. Too little and the adhesive never fully contacts the fiber, so the print lifts at the corners after a few washes. Too much and the powder layer spreads outward, producing a visible halo around the design and a stiffer feel. A quick way to check: press a test piece, peel the film cold, and look at the edge. A clean edge with no ghosting means pressure is in range.
Time
Eight to fifteen seconds covers most situations. The lower end suits thin films and light ink loads; the upper end suits heavy white underbases on dark garments. Longer isn't automatically better. Past about twenty seconds, you're mostly adding heat to the garment, not improving the bond, and you increase the chance of the film wrinkling under the platen.
Cold Peel vs. Hot Peel: Pick One and Stay Consistent
Some films release best while still warm, others need to cool completely, and a few can be peeled either way with slightly different surface results. The mistake is switching methods mid-run because one shirt came out wrong. Decide on the peel method your film manufacturer specifies, write it on a note taped to the press, and follow it for the whole batch. Inconsistency is the single most common reason a run of twenty shirts ends up with five that look different from the rest.
If you're unsure which your film wants, test both on scrap fabric and compare the surface. A hot peel that's pulled too early leaves ink residue on the film, which shows up as a dull patch on the garment. A cold peel that's rushed while the transfer is still warm can stretch the design out of register.
Choosing Between DTF and Other Methods
DTF earns its place for short runs, full-color artwork, and jobs where you don't want to hold screen inventory or cut vinyl by hand. It handles gradients, photographic images, and fine detail that vinyl can't reproduce, and it works on cotton, polyester, blends, and many synthetics. Screen printing still wins on cost per unit for large runs of simple designs, and sublimation remains better for all-over polyester work where you want zero hand feel.
Where DTF struggles is on fabrics with heavy texture, like coarse canvas or thick fleece, where the film can't conform to the surface. It also needs a reasonably flat press area; seams, zippers, and pocket edges are difficult to press cleanly without a smaller platen or a pressing pillow.
A Note on Sourcing Locally
Shipping times matter more than most beginners expect. A transfer that sits in a hot delivery truck for three days can arrive with the powder partially set, which changes how it behaves on press. If turnaround is tight, searching for dtf transfers near me and picking up from a local supplier often beats saving a few cents per sheet online. You also get the chance to ask questions face to face, which is worth more than it sounds when you're troubleshooting a stubborn fabric.
Wash Durability: What to Expect and How to Improve It
A properly pressed DTF print on cotton should survive fifty or more home wash cycles without cracking, provided the garment is washed inside out in cold water and dried on low or hung. Heat is what kills prints, not water. A tumble dryer on high will eventually break down the adhesive layer faster than anything else you do.
If prints are failing earlier than that, check three things in order: press pressure, dwell time, and whether the fabric was pre-pressed. Pre-pressing the garment for three to five seconds removes moisture and wrinkles, and it's the step most often skipped. Moisture trapped under the transfer turns to steam during pressing and creates tiny bubbles in the adhesive, which become failure points later.
Common Problems and Their Fixes
- Print cracks along folds: powder layer is too thick or the press temperature was too low, so the adhesive never fully flowed. Lower the powder coat, raise temperature slightly, and re-test.
- Colors look washed out after pressing: ink load was too light for a dark garment, or the press was too hot and drove pigment into the film. Reduce temperature and increase ink density.
- Corners lift after washing: pressure was too light at the edges, often because the platen isn't level. Check platen flatness with a straightedge.
- Visible halo around the design: too much pressure spread the powder outward. Back off pressure and inspect the film before pressing.
- Film won't release cleanly: peel method doesn't match the film, or the transfer cooled too long before peeling. Follow the manufacturer's spec exactly.
Setting Up a Small Shop Without Overspending
You don't need a full production line to start. A reliable heat press with even pressure across the platen, a printer that handles white ink well, a curing oven or a dedicated powder shaker, and a decent hygrometer to track humidity in your workspace will carry you through most jobs. Humidity above roughly 60% causes powder to clump and ink to behave unpredictably, so a dehumidifier is often a better investment than a second printer.
Buy film and powder in quantities you'll use within a few months. Powder absorbs moisture over time, and film has a shelf life that shortens dramatically in warm storage. Label your stock with purchase dates and rotate it. Small habits like this prevent the frustrating situation where a product that worked perfectly six months ago suddenly starts failing.
Frequently Asked Questions
Can I use DTF transfers on 100% polyester?
Yes, and it's one of the method's strengths, but press at the lower end of the temperature range, around 280 to 300°F, to avoid glazing the fabric. Test on a scrap piece first, since some polyester finishes react differently to heat than others.
How long do DTF prints last on a shirt?
With correct pressing and cold-water washing inside out, most prints hold up for fifty or more wash cycles. Drying on high heat is the fastest way to shorten that lifespan, so low heat or air drying is worth the extra time.
Do I need to pre-treat fabric before pressing a DTF transfer?
No chemical pre-treatment is required, unlike some other printing methods. A quick three to five second pre-press to remove moisture and wrinkles is enough, and it noticeably improves adhesion on cotton and blends.
What's the difference between hot peel and cold peel DTF film?
Hot peel film releases while still warm and suits faster production. Cold peel film needs to cool completely before the carrier is removed, which gives a slightly softer final surface. Use whichever your film specifies and stay consistent across a batch.
Can DTF transfers be applied to dark garments?
Yes. DTF prints a white underbase beneath the color layer, so colors stay vibrant on black, navy, and other dark fabrics. This is one of the main reasons it's popular for small runs where screen printing setup costs would be hard to justify.